How to Bring Life Back to Your Wood Floors: Sanding and Restoration Tips
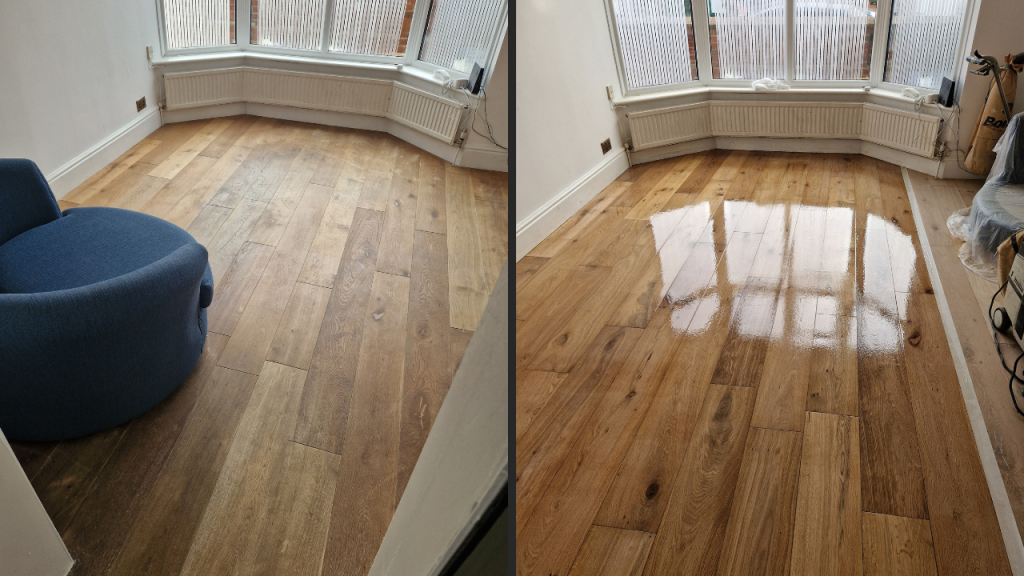
When was the last time you took a proper look at your floors? Go on—give them a good stare. Are they dull, scratched, or just plain tired-looking? You’re in the right place if your wooden floors have lost their sparkle. Today, we’ll dive into the wood floor sanding and restoration world, peeling back the layers (pun intended) to reveal the secrets of transforming your floors—and your home—into something truly spectacular.
Wooden floors are like the unsung heroes of home design. They carry the weight of furniture, footsteps, and a fair bit of life’s daily drama. Over time, they take a beating. And yet, with the right care and attention, they can last a lifetime. Sanding and restoring your wood floors brings back their original beauty and enhances the value and feel of your home. Let’s get cracking.
Why Your Floors Deserve Better
Think of your floors as the foundation of your home’s aesthetic. They’re the canvas on which the rest of your interior design sits. When they look good, everything else seems to fall into place. But if they’re neglected, the whole room suffers.
Wood floors don’t just age—they tell stories. Each scratch and scuff marks a memory, but too many can overshadow the charm. Sanding and restoration can bring those stories back into balance, preserving the character while giving your floors a fresh start.
But there’s more to it than aesthetics. Here are three reasons why restoring your wooden floors is worth your time:
- Durability: Proper restoration adds years to the life of your floor, making it resistant to wear and tear.
- Value: Whether you’re selling your home or just showing it off, beautiful floors leave a lasting impression.
- Hygiene: Sanding removes years of grime and build-up, giving you a healthier home.
Sanding: The First Step to Transformation
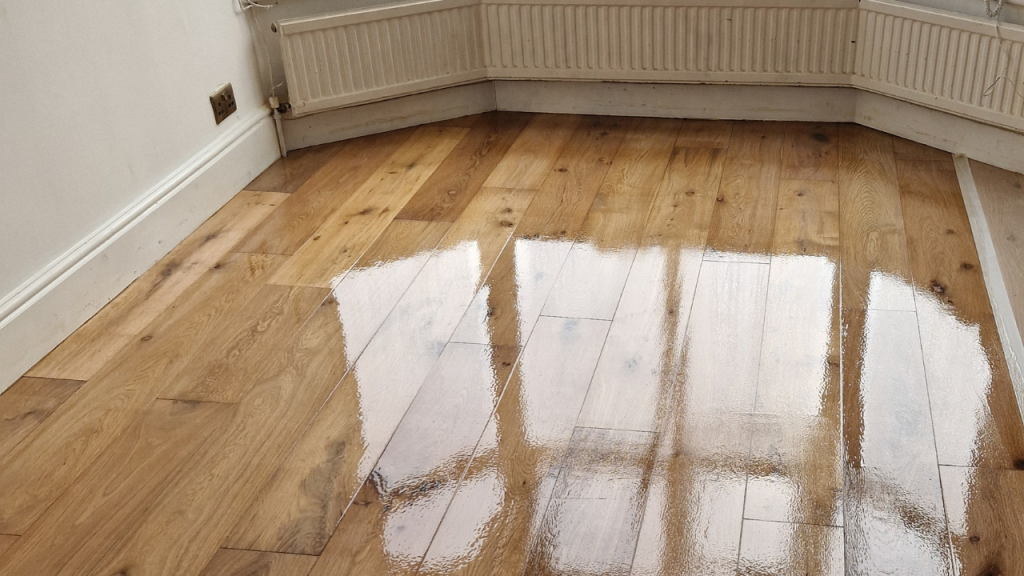
Let’s clarify: sanding is not just about removing the top layer. It’s a craft, a delicate art that, when done right, can breathe new life into even the most battered floors.
What is Wood Floor Sanding?
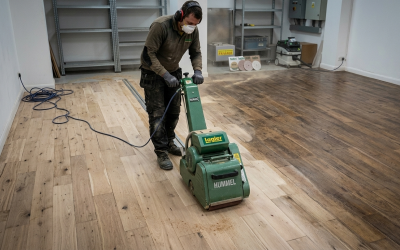
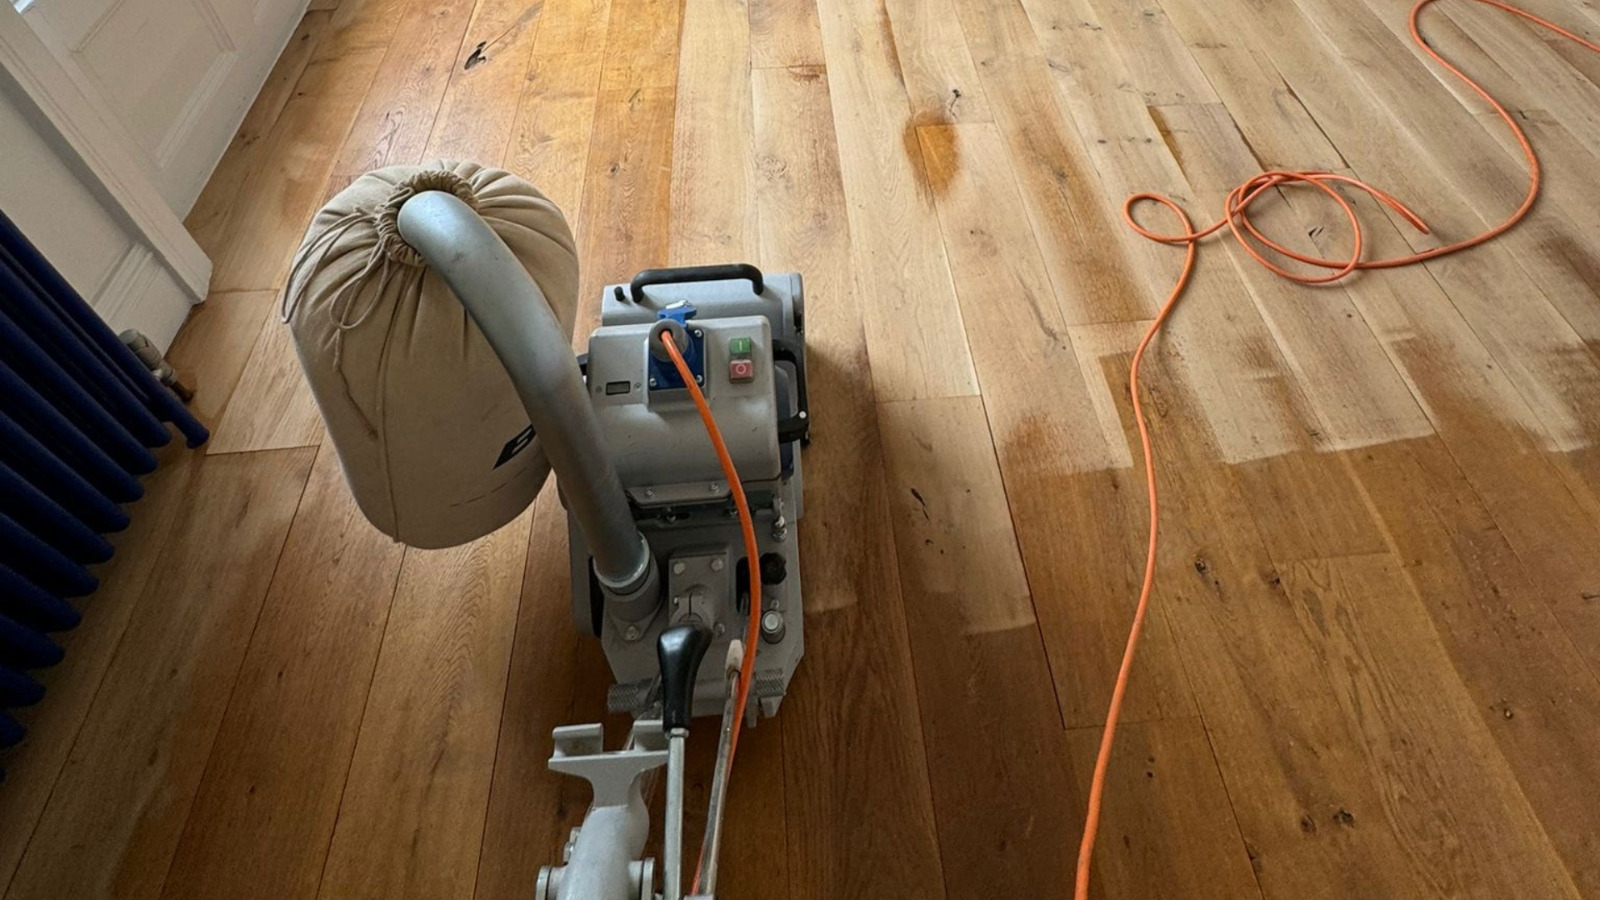
In essence, floor sanding involves stripping away the surface layer of your floor to reveal the fresh, untouched wood beneath. This process removes scratches, stains, and imperfections, creating a smooth surface that’s ready for refinishing.
The Tools of the Trade
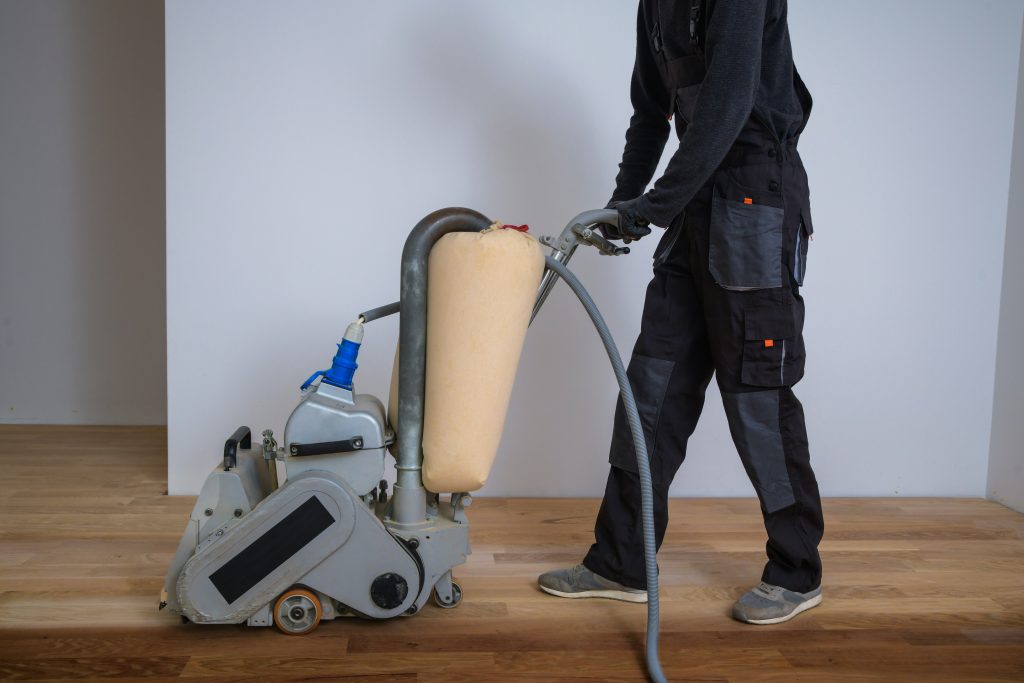
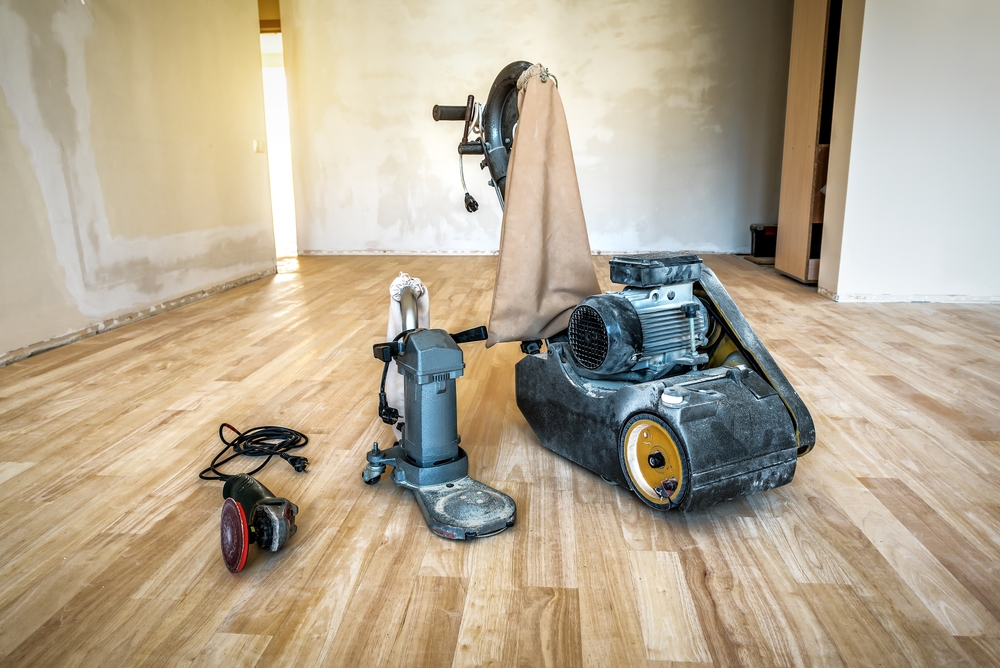
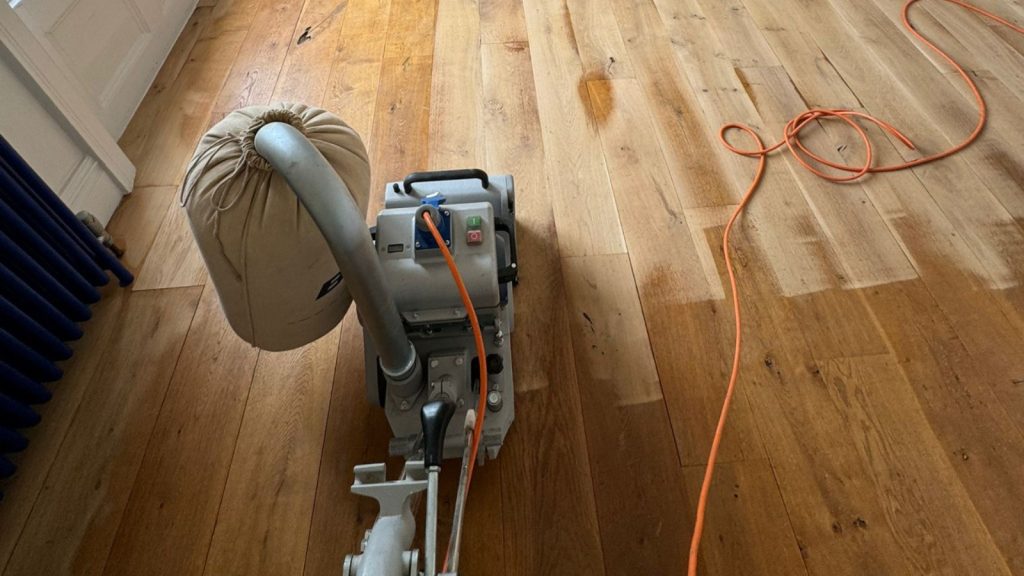
If you imagine someone on their hands and knees with sandpaper, think again. Modern floor sanding is a professional operation requiring serious kit, such as:
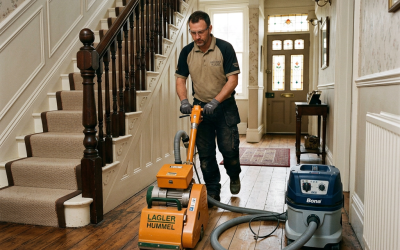
- Drum Sanders: For large, flat areas.
- Edging Sanders: For those hard-to-reach corners and edges.
- Orbital Sanders: Ideal for achieving a fine, smooth finish.
The Process: A Step-by-Step Guide
- Preparation is Key
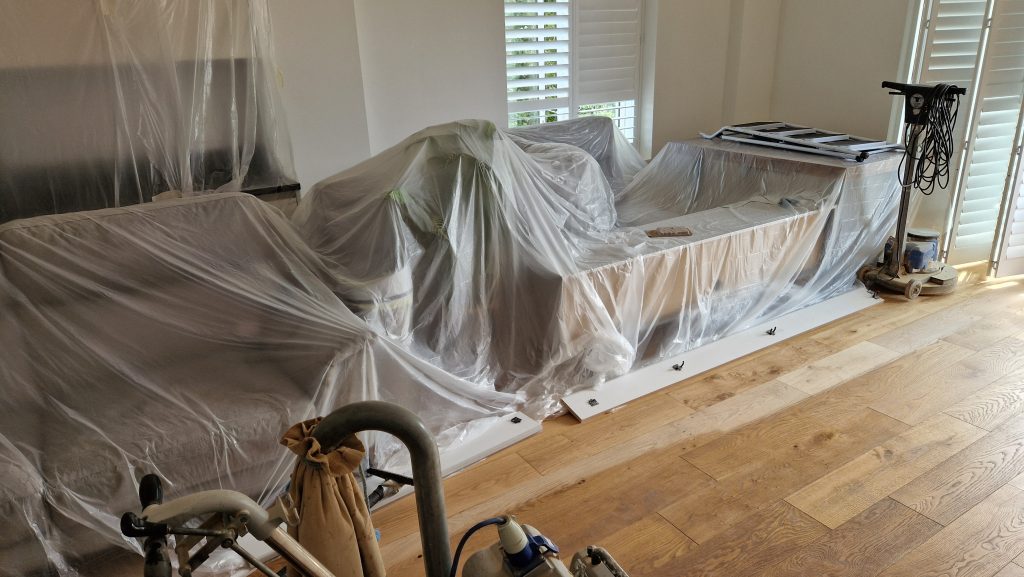
Clear the room of furniture, rugs, and anything that might get in the way. Check for loose floorboards or nails sticking out—they’ll need sorting before the sander comes out. - The First Sanding Pass
Start with coarse grit sandpaper. This step removes old finishes, scratches, and stubborn stains. - Progressively Finer Sanding
Gradually move to finer grit sandpaper to smooth out the surface and eliminate sanding marks. - Edges and Corners
Use an edging sander to tackle the perimeter. Don’t skip this step—edges can make or break the finish. - Clean Up
Vacuum thoroughly to remove every last speck of dust. Trust me, any lingering dust will ruin the finish.
Restoration: The Finishing Touch
Now that your floors are smooth and spotless, it’s time to give them the personality they deserve. This is where restoration comes into play.
Choosing the Right Finish
The finish you choose will define the look and feel of your floor. Here are the main options:
- Lacquer: Durable, shiny, and easy to maintain. Perfect for high-traffic areas.
- Oil: Enhances the natural grain and offers a softer, more traditional look.
- Wax: Adds warmth and richness but requires regular upkeep.
- Stain: Staining is your friend if you fancy a change of colour. From warm oak to dramatic ebony, the choice is yours.
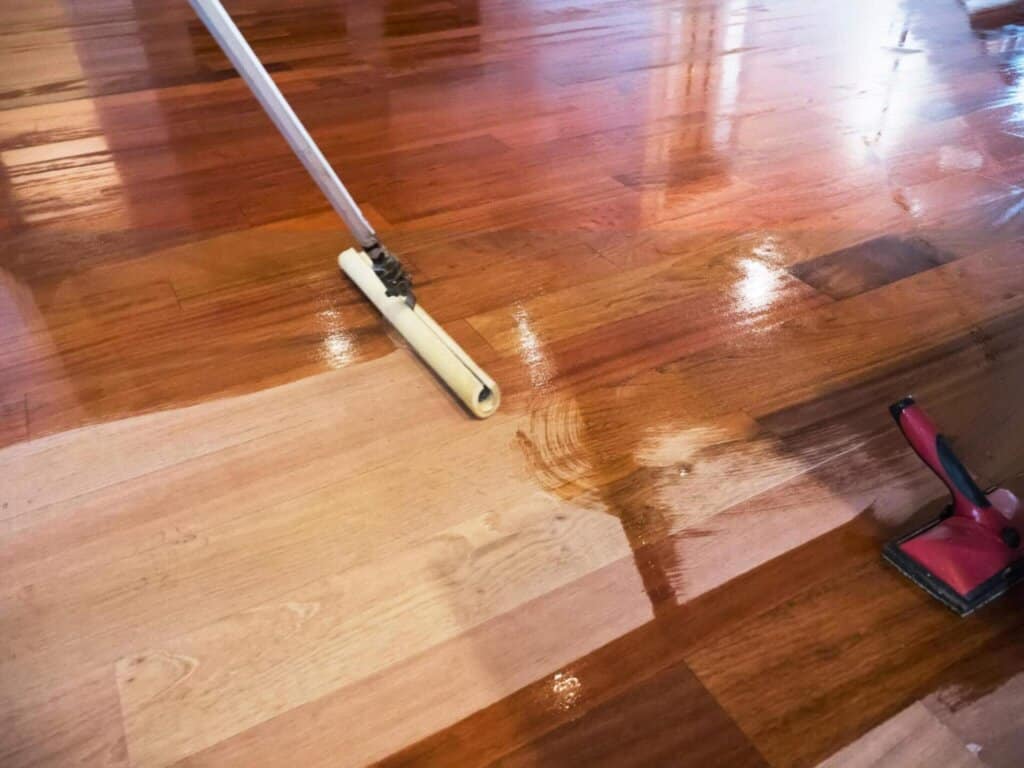
The Application Process
- Test First
Always test your chosen finish on a small, inconspicuous area to ensure you’re happy with the result. - Apply Evenly
Use a high-quality applicator to spread the finish evenly across the floor. Avoid pooling—it’s the enemy of a smooth finish. - Let It Dry
Patience is crucial. Allow plenty of drying time between coats. For oil-based finishes, this can take up to 24 hours. - Buffing (Optional)
For an ultra-smooth finish, lightly buff the surface between coats.
Common Pitfalls and How to Avoid Them
Let’s be honest: sanding and restoring wooden floors isn’t without its challenges. Here are some common mistakes and how to dodge them:
- Skipping the Prep Work
Overlooking loose boards or protruding nails can lead to a bumpy finish—or worse, damage your sanding equipment. - Rushing the Job
Sanding is a marathon, not a sprint. Take your time, especially during the finer sanding stages. - Ignoring Dust
Dust is your nemesis. Clean thoroughly between sanding passes and before applying the finish. - Using the Wrong Finish
Not all finishes are created equal. Consider the room’s function and traffic levels when choosing.
DIY vs Professional Services
Ah, the age-old question: should you tackle this yourself or call in the pros?
DIY Sanding: The Pros and Cons
Pros:
- Cost-effective (at least initially).
- A satisfying sense of achievement.
Cons:
- Requires renting expensive equipment.
- Easy to make costly mistakes.
- Time-consuming and physically demanding.
Why Choose Professional Services?
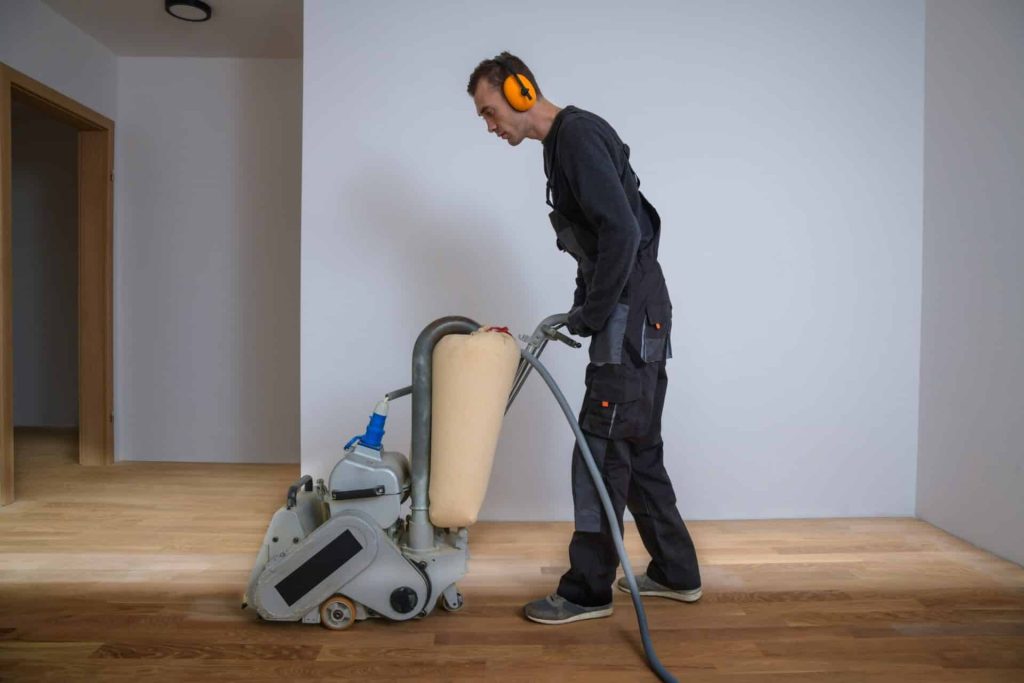
Professional floor sanders bring experience, skill, and equipment that’s often out of reach for DIY enthusiasts. They can identify and fix underlying issues you might miss, and the results are usually far superior.
Maintaining Your Newly Restored Floors
Congratulations—your floors look fabulous! Now, how do you keep them that way?
Regular Cleaning
- Use a soft-bristle broom or vacuum with a hardwood floor attachment to remove dust and debris.
- Avoid harsh chemicals; a damp mop with a pH-neutral cleaner is all you need.
Protect Against Wear and Tear
- Place felt pads under furniture legs to prevent scratching.
- Use rugs in high-traffic areas.
Reapply the Finish
Every few years, your floor will need a fresh finish coat to keep it looking its best.
The Bigger Picture: Why It’s Worth It
Restoring your wooden floors isn’t just a home improvement project—it’s an investment. It adds warmth, character, and value to your property. But more importantly, it transforms your home into a space you can take pride in.
So, whether you’re tackling the job yourself or hiring a professional, please don’t put it off any longer. Your floors—and your home—deserve it.
Now, go on. Look at your floors again. Imagine what they could be. Then, take the first step toward making it happen. Your future self will thank you.